Wicking Bed Day
Today was a big day – we got to fill our brand new wicking beds! What are wicking beds, you ask? Read all about them here.
Our wicking beds have been made possible with the help of lots of people and several generous organisations. They are: TECT, who gave PiPS a grant to build the beds: Fonterra Grass Roots Fund, who also gave us a grant: Good Neighbour, who organised the whole project, built the beds, ran today’s working bee, supplied food AND volunteer workers to help us: and Daltons, who donated all the compost and mulch to fill the beds. And don’t forget the staff, students and Clare our Garden Facilitator.
Thank you to everyone who has made this project possible.
Here’s a step-by-step account of how we did it.
Here are the empty beds, ready for filling. We have three beds each 4m long x 1m wide – that’s a lot of new planting space! The beds were delivered in sections yesterday, and volunteers from Good Neighbour came and put them together and set them into place.
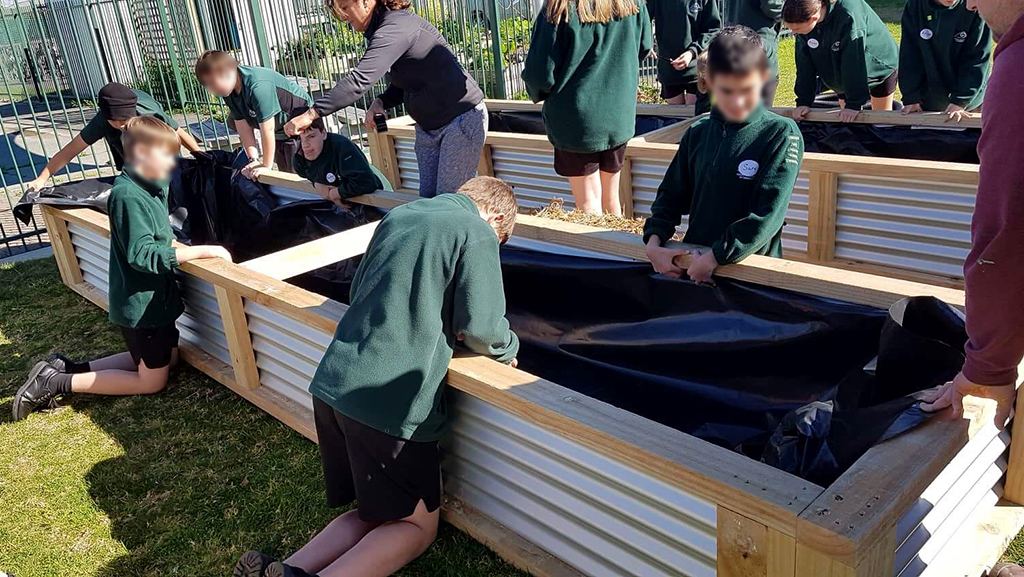
The first step today was to line each bed with plastic. Normally we’d like to have the earth in a raised bed in contact with the ground, so moisture, beneficial creatures and microbes could move between them, but because we want this bed to retain water, we need to seal it off.
We taped the plastic around the top edge of the bed, and paid special attention to folding the corners so the whole liner is sitting neat and flat. We made holes in the sides of the plastic liner that corresponded with holes in the metal sides of the bed (you can see them in some of the other photos). These provide emergency drainage for the times when we have too much rain, to prevent the bed from flooding.
We then prepared the pipe that’s going to run along the bottom of the bed. The pipe has holes in it. This is what will hold and distribute the water to our plants.
The pipe got wrapped with frost cloth, which was taped on tightly. The frost cloth will prevent the holes in the pipe getting blocked with dirt and sand, but will still allow water to permeate through. We sealed off one end of the pipe with tape but left the other end open.
We carefully laid the pipe down the centre of the bed, making sure the open end came up to the top of the box.
When the pipe was in place we covered it with sand.
Then we put a 20cm layer of mulch on top of the sand.
This was also a good point to add any other compostable plant matter we had lying around.
We toppd the mulch layer with a sprinkling of lime. Lime will help the mulch decompose.
Then we added a layer of pea straw on top of the mulch. Pea straw adds nitrogen to the mix, which is really important to help our plants grow strong, healthy leaves.
Next we put 20cm of compost on top of the pea straw.
…and a dusting of blood and bone on top of that. The blood and bone adds a lot of nutrients to the soil, which will help our plants grow strongly.
And we continued with more layers of mulch and lime, and compost and blood and bone, until the bed was really full and mounded up in the middle. As the air is compressed out of the mix the filling will settle and sink down.
We then put the hose into the pipe for about half an hour. The water will seep from the pipe and into the bottom of the bed. The roots of our seedlings will grow downwards, seeking the water. This means our plants will develop deep, strong roots and also that we won’t lose water to evaporation, which is what happens when we water our plants on the surface of the soil.
Then we got to plant our seedlings.
We added more mulch around them.
What a team!
Thank you again to everyone who helped us. These beds will be an asset not just for our school and students, but for our whole community for many years to come.


